Timing is everything in sourdough baking. A loaf can go from perfectly proofed to overproofed in just a few hours, and the difference between success and disappointment often comes down to recognising the subtle signs before they become obvious problems. Whether you’re working with a young starter or a mature one, understanding how to identify when your dough has overproofed versus underproofed is essential for consistent results. This guide will teach you the practical methods to assess your sourdough’s readiness instantly, so you can bake with confidence.
The key to telling if your sourdough is overproofed lies in observing three reliable indicators: the poke test, visual appearance, and how your dough responds to handling. An overproofed dough will feel slack and won’t spring back when you gently press it with your finger. The surface may appear slightly deflated or dimpled rather than taut and smooth. Conversely, an underproofed dough feels tight, springs back quickly, and lacks those characteristic surface bubbles. By learning these instant checks, you’ll eliminate guesswork from your baking routine and develop the intuition that separates mediocre loaves from exceptional ones.
The Poke Test: Your Most Reliable Indicator
The poke test is the gold standard for assessing whether your dough is ready. Using your finger or thumb, gently press the dough about half an inch deep on the surface. Pay close attention to how it responds. If the indentation springs back quickly and completely within a second or two, your dough is underproofed and needs more time. If the indentation springs back slowly and partially—leaving a slight dimple—you’ve hit the sweet spot. However, if the indentation remains and doesn’t spring back at all, your dough is overproofed.
The reason this test works so effectively is that it measures gluten development and fermentation simultaneously. As yeast ferments the dough, it produces gas that makes it more elastic. When proofing continues beyond the optimal point, the gluten structure weakens from extended fermentation, and the dough loses its ability to trap and hold gas effectively.
Step-by-Step Poke Test Instructions
Follow these steps for consistent, accurate results:
- Ensure your hands are lightly floured to prevent sticking
- Position your finger near the edge of the dough, about half an inch from the surface
- Press gently and steadily until your finger sinks approximately one centimetre into the dough
- Withdraw your finger slowly and observe the dough’s immediate response
- Note the timing: does it spring back within one second, several seconds, or not at all?
Perform this test at different stages during your bulk fermentation to develop a sense of how your specific dough progresses. Additionally, environmental factors like temperature significantly affect fermentation speed, so your observation skills matter more than rigid timing.
Visual Signs of Overproofing and Underproofing
Beyond the poke test, your eyes provide valuable information. An underproofed dough appears smooth and relatively tight across the surface. You may notice some bubbles developing underneath (especially if you do a windowpane test or gentle turn), but the exterior looks firm and well-organised. The dough feels dense when you handle it, and there’s noticeable resistance when shaping.
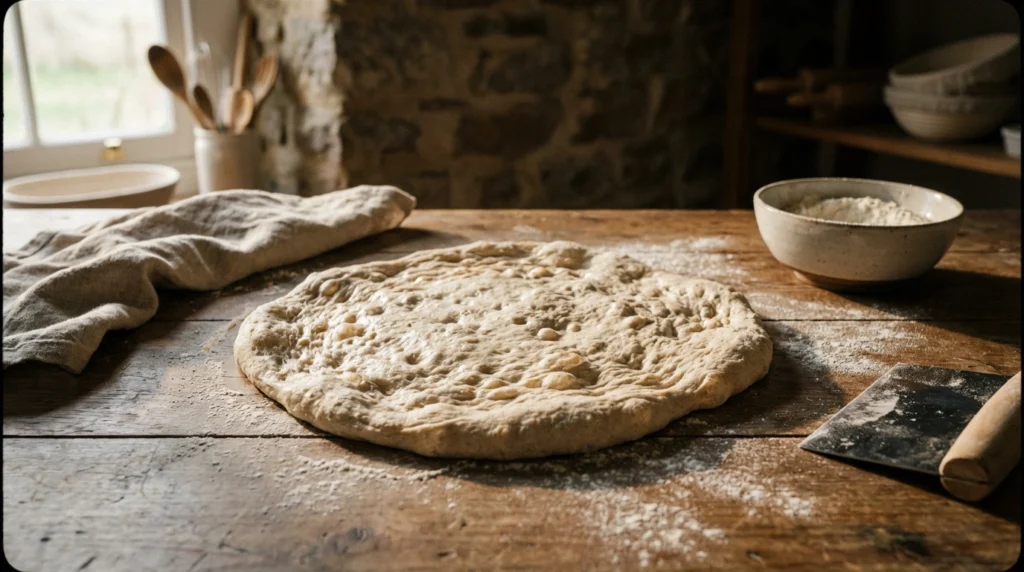
An overproofed dough tells a different story. The surface becomes visibly slack and may develop a slightly dimpled or wrinkled appearance. Large bubbles may be visible through the sides of your proofing basket or bowl. The dough feels almost marshmallow-like when you touch it—loose, pillowy, and lacking tension. Some bakers describe it as looking “tired” or “exhausted.” In extreme cases, the dough may have begun to deflate noticeably before you even shape it.
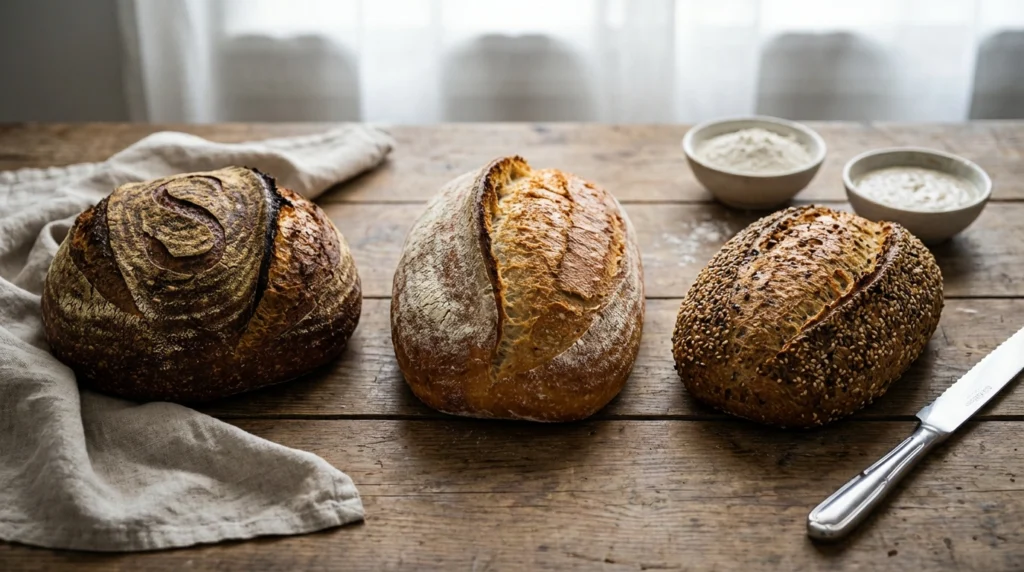
Comparing Surface Characteristics
These visual differences are worth examining closely:
- Underproofed: Tight, smooth surface with minimal bubbling visible from above
- Perfectly proofed: Taut surface with some visible bubbles, slight dome shape
- Overproofed: Slack, dimpled surface with large visible bubbles, dough may sag
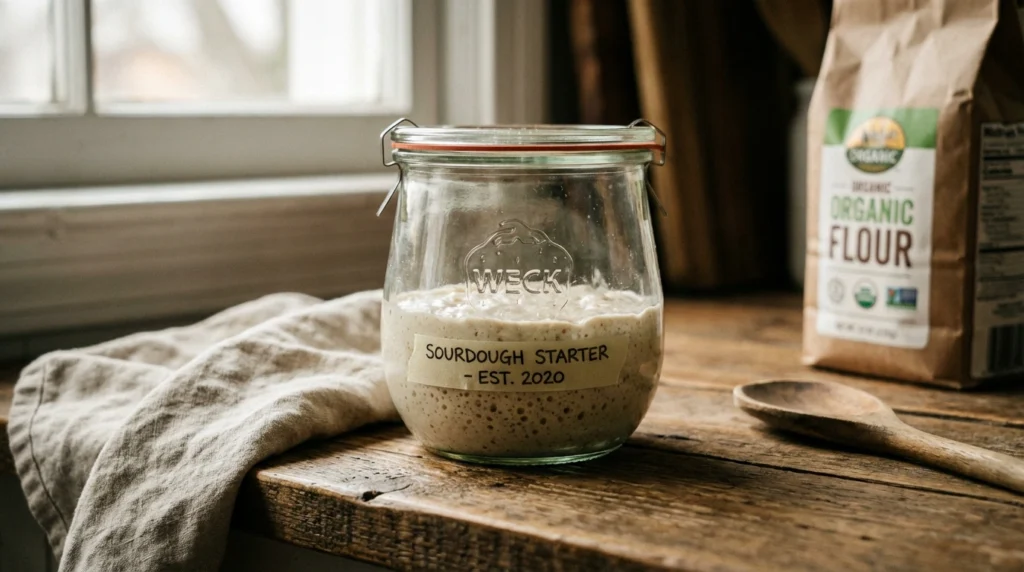
Keep in mind that a well-maintained sourdough starter will ferment your dough more predictably. A weak or young starter may show fewer of these visual cues, making the poke test even more essential during your learning phase.
Understanding Fermentation Stages in Your Starter
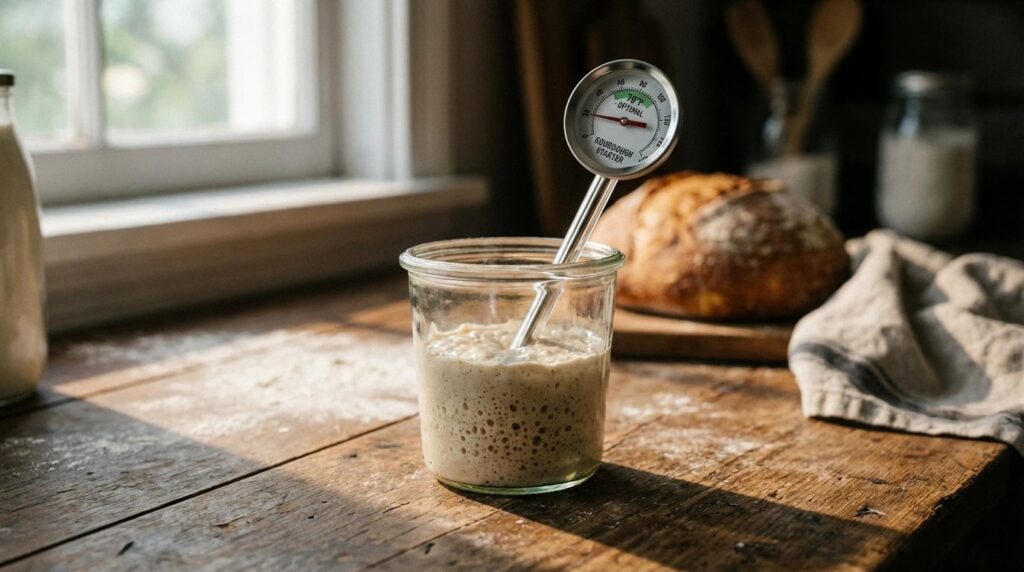
Your starter’s condition directly influences how quickly your dough will overproof or remain underproofed. A vigorous, well-fed starter that’s rising properly will ferment your bulk dough much faster than a sluggish one. Understanding where your starter sits in its own fermentation cycle helps you predict dough behaviour more accurately.
A starter at its peak (roughly four to eight hours after feeding, depending on temperature) contains maximum wild yeast and bacterial activity. Using it at this stage will speed up your bulk fermentation significantly, meaning your dough could reach overproofed status in just four to six hours rather than eight to twelve. Conversely, using a starter that’s only two hours into its cycle will ferment your dough much more slowly.
Timing Based on Starter Peak
Consider these timing guidelines as general references, not absolute rules:
- Warm environment (24–27°C): Three to six hours bulk fermentation
- Moderate environment (18–21°C): Six to ten hours bulk fermentation
- Cool environment (15–17°C): Eight to fourteen hours bulk fermentation
Temperature is the primary variable that determines how quickly fermentation progresses. A cold kitchen slows everything dramatically, giving you more margin for error. Warm kitchens compress your timeline, making regular poke tests throughout bulk fermentation absolutely critical to avoid overproofing.
Practical Adjustments Based on Your Assessment
Once you’ve identified your dough’s status, you need to act decisively. If your poke test reveals underproofing, simply allow more bulk fermentation time before shaping. Continue monitoring every thirty to sixty minutes until the poke test shows partial spring-back. There’s minimal risk of overdoing this stage—underproofed dough simply bakes into dense, compact loaves without the open crumb you’re seeking.
If you discover overproofing, your options become limited. You can still shape and bake the dough, but your results will suffer. The loaf may spread excessively during baking rather than spring upward, creating a flat, dense bread with minimal oven spring. The crumb structure becomes gummy rather than open and airy. Nevertheless, baking overproofed dough teaches valuable lessons. You’ll taste and see exactly what happens, making future recognition much easier.
Rescue Strategies for Overproofed Dough
If you catch overproofing early, before bulk fermentation is complete, you have one option: divide the dough into portions, gently pre-shape, and allow a short rest (fifteen to twenty minutes) before final shaping. This brief respite allows some gluten recovery, though results remain suboptimal. For moderately overproofed dough that’s already been shaped, simply bake it. Accept the outcome as a learning experience and adjust your next batch’s timeline accordingly.
Common Mistakes and How to Avoid Them
One of the most frequent mistakes is relying solely on time rather than observation. A recipe saying “bulk ferment for eight hours” ignores that your kitchen, your starter, your flour, and your ambient temperature are unique. Two bakers following identical instructions will experience dramatically different fermentation speeds. Time is a guide; the poke test and visual assessment are your truth-tellers.
Another common error is confusing overproofing during bulk fermentation with overproofing during final proof. Both are possible, but they present differently. Bulk fermentation overproofing results in that marshmallow-like slack dough described earlier. Final proof overproofing happens when shaped dough rests too long before baking—often overnight in a banneton. Sourdough fermentation (Wikipedia) explains these distinctions in detail, and understanding them prevents confusion when troubleshooting your loaves.
Correcting Common Misconceptions
Some bakers believe that overproofed dough will always fail. This simply isn’t true. Overproofed dough still bakes into edible, flavourful bread. It won’t have the dramatic oven spring or open crumb you desire, but it’s not ruined. View overproofing as a learning opportunity rather than a disaster. Each batch teaches you more about your environment and your starter’s behaviour.
Another misconception is that refrigeration stops fermentation entirely. It slows fermentation dramatically but doesn’t halt it. Even in the fridge, your dough continues fermenting slowly, which is why overnight cold proofs often develop excellent flavour. However, if your dough was already overproofed before refrigeration, the cold won’t reverse that—it will simply continue developing in the fridge at a glacial pace.
Mastering the ability to instantly recognise whether your sourdough is overproofed or underproofed transforms your baking from guesswork into informed decision-making. The poke test combined with visual assessment gives you reliable, immediate feedback. Rather than following rigid timelines, develop the habit of testing your dough consistently throughout bulk fermentation. Temperature fluctuations, seasonal changes, and starter variations mean your fermentation will never follow the same timeline twice. Embrace this variability, stay observant, and your sourdough will reward you with consistent, beautiful results. If you’re still building confidence with your starter, consider reviewing our background and approach to sourdough to ensure you’re working with reliable foundational knowledge.