Your sourdough starter can last indefinitely—but only if you store it correctly. Feed it wrong, keep it in the wrong temperature, or choose a storage method that doesn’t fit your baking rhythm, and you’ll either waste flour maintaining something you don’t use, or discover a dead culture when you finally want to bake. The storage method you choose should align with your baking frequency, available space, and how quickly you want to return to active baking. Match your approach to your lifestyle, and your starter becomes genuinely effortless to maintain.
The three practical storage methods are: room-temperature storage for regular bakers, refrigeration for variable schedules, and long-term dormancy for extended breaks. Room-temperature storage keeps your culture active and ready to use within hours. Refrigeration slows fermentation dramatically, letting you maintain your starter with weekly feeds instead of daily ones. Freezing or dehydration preserves your culture for months without active maintenance. The key is choosing an approach you’ll actually sustain, not forcing yourself into a routine that leads to neglect.
Room-Temperature Storage for Active Bakers
If you’re baking sourdough multiple times per week, room-temperature storage is your best option. Your starter remains at peak activity, doubling reliably within 4–8 hours after feeding. This means you’re always ready to mix dough without advance planning.
Feed your starter with equal weights of flour and water—typically 50 grammes each—and leave it on your kitchen counter away from direct sunlight. Most starters perform best between 20–24°C. Within a few hours, you’ll see the characteristic rise and bubbling that indicates fermentation is active. Once it peaks, use it immediately for baking or feed it again if you’re not ready to bake.
A common mistake is assuming room-temperature storage requires hourly monitoring. Feeding once or twice daily is sufficient for most sourdough cultures. If you bake daily, feed in the morning before work and use the starter in the evening when it peaks. If you bake every other day, a single daily feed after discarding half the starter keeps everything stable without becoming a chore.
Temperature Stability Matters More Than You Might Think
Room temperature fluctuations affect fermentation speed significantly. During winter, your kitchen might drop to 16–18°C, which slows activity and extends the rise time to 12 hours or longer. During summer, temperatures above 26°C accelerate fermentation, sometimes causing the starter to peak in just 3–4 hours. Understanding this variation prevents you from wondering why your starter behaves differently across seasons.
If your home has inconsistent temperatures, position your starter away from cold external walls and heating vents. A kitchen cupboard or drawer often provides more stable conditions than an open counter. For more detailed guidance on managing these temperature variations, refer to our complete guide to temperature control for sourdough cultures, which covers precise strategies for maintaining optimal conditions year-round.
Refrigeration: The Flexible Middle Ground
Refrigeration is the most practical storage method for bakers with irregular schedules. Cold temperatures dramatically slow fermentation, allowing you to feed your starter just once per week instead of daily. This flexibility works if you bake every few weeks, travel occasionally, or want to reduce daily feeding commitments without abandoning your culture.
Feed your starter at room temperature and let it rise fully—usually 4–6 hours. Once it reaches peak activity, cover it and place it directly in your refrigerator. The cold doesn’t stop fermentation; it merely slows it to a crawl. Your starter will ferment very gradually over 7–10 days, developing a thin layer of liquid (hooch) on top. This is normal and actually protective.
The Weekly Feeding Routine for Refrigerated Starters
Each week, remove your starter from the fridge and allow it to warm to room temperature—this takes about 30 minutes. Discard half (or whatever amount you don’t need) and feed with fresh flour and water. Let it sit at room temperature for 1–2 hours, then return it to the refrigerator. This brief warm period reactivates the culture sufficiently to maintain health.
Time your feeds around baking days. If you plan to bake on Thursday, take your starter out of the fridge on Wednesday evening. Feed it, let it warm overnight at room temperature, and it will be vigorous and ready by Thursday morning. This approach requires minimal maintenance whilst keeping your culture alive indefinitely.
Refrigerated starters develop hooch—a darker liquid layer above the starter. You can either stir it back in or pour it off. Stirring it in adds acidity and intensity to your sourdough flavour. Pouring it off results in milder bread. Both approaches work equally well.
When Cold Storage Fails and Recovery Steps
If you forget to feed a refrigerated starter for 3 weeks or longer, don’t assume it’s dead. Remove it from the fridge and observe whether activity resumes within 24–48 hours of feeding. Most cultures survive extended neglect better than expected. Our guide on whether starters actually go bad covers recovery techniques in detail, including how to tell if your culture is genuinely viable and what to do if mold or contamination appears.
Long-Term Storage Solutions
Extended breaks from baking—whether due to holidays, health reasons, or simply life circumstances—don’t mean abandoning your starter. Two methods preserve cultures for months with zero maintenance: freezing and dehydration. Each offers distinct advantages depending on how long you’ll be away and how quickly you want to return to baking.
Freezing Your Starter for Extended Periods
Freezing is the simplest long-term preservation method. Feed your starter, let it reach peak activity, then portion it into small containers or ice-cube trays. Once frozen solid, transfer the portions to a freezer bag and label with the date. Frozen starters remain viable for 6–12 months without degradation.
When you’re ready to bake again, thaw a portion at room temperature and feed it as normal. It may take 24–48 hours of regular feeding for the culture to fully reactivate, particularly if it’s been frozen for several months. The first loaf from a thawed starter sometimes behaves unpredictably, so starting with a straightforward recipe helps rather than attempting something ambitious immediately.
Dehydration for Lightweight Portability
If you travel or want an emergency backup, dehydration is ideal. Spread a thin layer of active starter on parchment paper and leave it at room temperature for 3–5 days until completely dry and brittle. Break it into flakes and store in an airtight container away from moisture. Dehydrated starter lasts years with no special storage conditions needed.
Rehydrating is equally simple. Mix the flakes with equal weight of water and let them absorb for 30 minutes, then feed with flour as normal. Reactivation typically takes 48–72 hours, with the culture gradually building strength with each feed. Our beginner’s guide to sourdough starters includes step-by-step instructions for dehydrating, which is particularly useful if you’re concerned about losing your culture.
Container Selection and Hygiene Matters
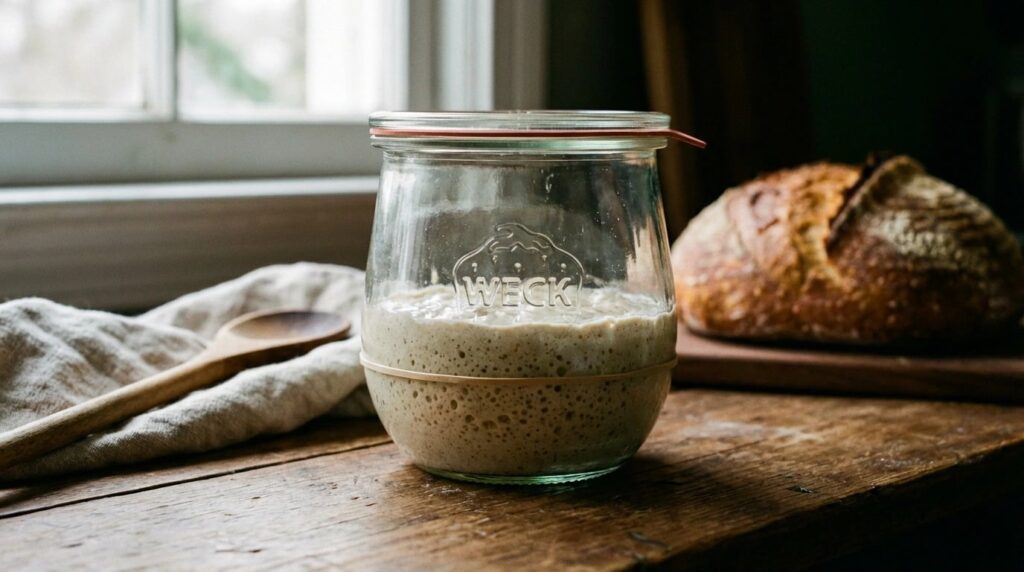
The container holding your starter influences both storage ease and culture health. Glass jars are ideal for most bakers because they’re inert, transparent so you can monitor activity, and resist odour absorption. Plastic containers work acceptably but can retain stains and odours from repeated use. Ceramic vessels are fine as long as the glaze is food-safe and uncracked.
Size matters considerably. A container roughly twice the height and width of your starter’s volume provides enough headspace for expansion without overflow. Too small a vessel creates mess; too large wastes space and slows fermentation slightly because the starter spreads thinly. A 500 ml jar works well for a typical 100 gramme starter.
Avoiding Contamination During Storage
Wash your container with hot soapy water and rinse thoroughly before storing. A loose cloth cover, coffee filter, or loosely screwed lid allows gases to escape during fermentation whilst keeping dust and airborne contaminants out.
Never seal a room-temperature starter airtight because gas pressure builds dangerously. Refrigerated starters can use a sealed lid because fermentation is so slow that pressure accumulation is minimal over a week. For long-term frozen or dehydrated storage, airtight containers prevent moisture loss and oxidation.
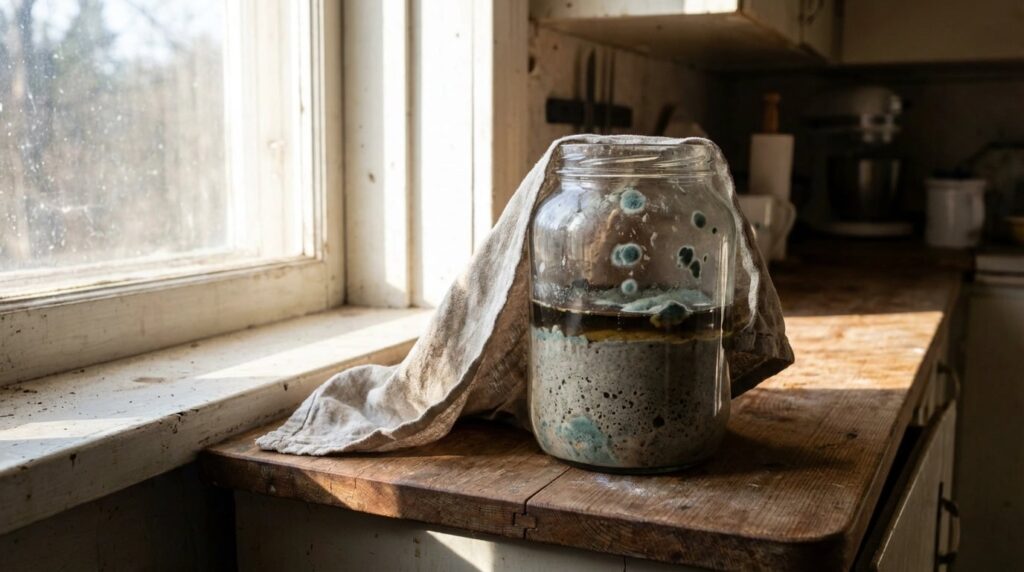
If you notice any mould growth—pink, orange, or fuzzy growth rather than the normal greyish surface yeast—discard that batch entirely and start fresh. Mould indicates environmental contamination that likely extends deeper into the culture than you can visually detect. An overview of mold biology and contamination (Wikipedia) explains why this fungal growth poses safety concerns despite sourdough’s generally safe fermentation environment.
Monitoring and Maintaining Your Stored Starter
Different storage methods require different monitoring approaches. Room-temperature cultures need daily observation to ensure they’re rising predictably and smell pleasantly sour rather than rotten. Refrigerated starters need weekly checks when you feed them. Frozen and dehydrated backups need checking only when you plan to reactivate them.
What Healthy and Unhealthy Starters Look Like
A thriving room-temperature starter shows consistent rise within predictable timeframes. It develops a pleasant sour aroma, though “pleasant” varies—some cultures smell almost yeasty whilst others are distinctly acidic. A grey or brown liquid layer (hooch) on top is completely normal and indicates the culture has developed sufficient acid.
Unhealthy signs include persistent foul or acetone-like odours, visible fuzzy or coloured mould, or complete failure to rise after several feeds. Pink streaking or orange discolouration indicates contamination requiring discard. A thin dark crust on the surface is normal oxidation and harmless; simply stir it back in.
When to Feed and When to Let It Rest
Match feeding frequency to temperature and storage method. At room temperature, feed daily or twice daily depending on your baking schedule. In the refrigerator, feed weekly. In the freezer or dehydrated state, feeding is unnecessary until you reactivate the culture.
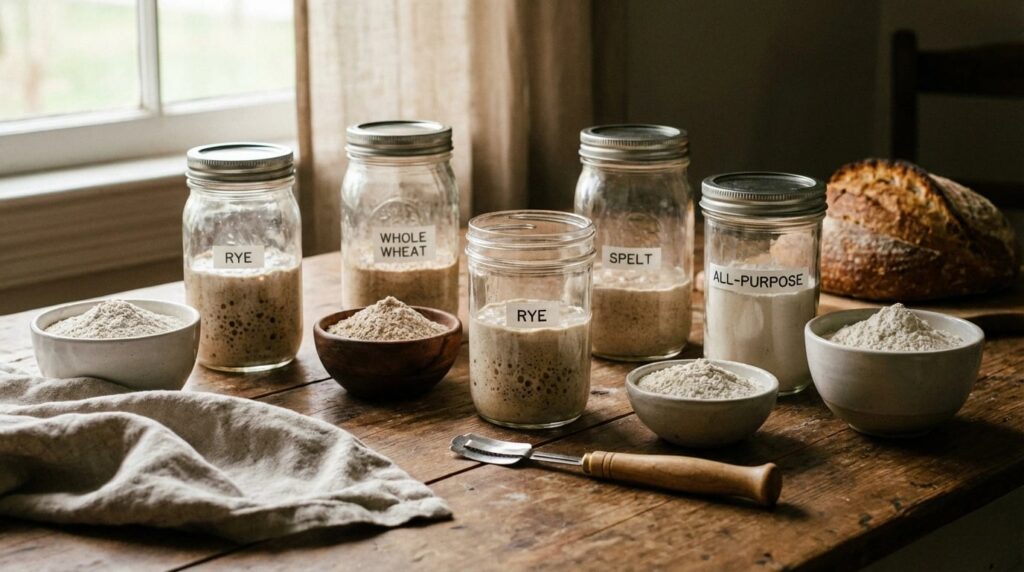
Your choice of flour also influences storage stability. Higher-protein flours (like bread flour) tend to maintain cultures more robustly than low-protein varieties because they support stronger gluten networks for the culture to ferment. If your stored starter seems less vigorous after reactivation, consider switching to a slightly heartier flour for your regular feeds.
Testing Readiness Before Using Your Stored Starter
After removing your starter from storage, feed it and observe for 24–48 hours before baking. A reliable sign of readiness is the “float test”: drop a small spoonful of starter into water. If it floats, the culture has sufficient gas production to leaven bread effectively. If it sinks, feed it again and wait longer.
The alternative is simply baking a test loaf once your starter shows consistent doubling after feeding. The first loaf may rise slightly differently than you’re accustomed to, but your starter will regain full vigour by the second or third bake. Our troubleshooting guide for rising issues covers specific symptoms if your recovered starter is sluggish during the first few bakes.
Start with the storage method that matches your baking habits right now: room temperature for daily bakers, refrigeration for flexible schedules, freezing or dehydration for extended breaks. Test your approach for two weeks—you’ll quickly discover whether it requires less time than you expected or whether you need to adjust. Your starter is remarkably resilient; the right storage method keeps it your reliable partner in sourdough baking for years.