You’ve been nurturing your sourdough starter for weeks, watching it bubble and grow. Then one day, you notice something odd—an unusual smell, a strange colour, or perhaps it hasn’t been rising as reliably as before. The question that immediately springs to mind is: can sourdough starter go bad? The short answer is yes, but understanding what “bad” actually means is crucial. Most of the time, what looks like a dying starter is simply dormant, neglected, or dealing with a temporary imbalance. With the right knowledge, you’ll be able to distinguish between a starter that genuinely needs rescuing and one that’s actually thriving in ways you might not recognise.
A healthy sourdough starter can survive remarkable neglect. Starters have been revived after months in the back of a refrigerator, even after developing a dark liquid layer on top. However, true failure does happen—typically when contamination occurs or when a starter is left at room temperature for extended periods without feeding. The good news for home bakers is that most “dead” starters are actually salvageable. Understanding the signs of genuine trouble versus normal starter behaviour means you’ll rarely need to start from scratch.
Signs Your Starter Is Actually Fine
Before you panic about your starter’s condition, learn to recognise the appearances and behaviours that are completely normal. Many bakers mistake natural starter development for serious problems. A dark brown or grey liquid sitting on top of your starter is called “hooch”—it’s simply alcohol produced by the wild yeast and bacteria when they’re hungry. Rather than a sign of failure, hooch indicates your starter is working hard and likely needs feeding.
Additionally, a mature starter kept in the refrigerator might go weeks without visible activity. This dormant phase is entirely expected. When stored cold, the fermentation process slows dramatically. Your starter isn’t dead; it’s just resting. Here are the reliable indicators that your starter is healthy:
- A pleasant, slightly sour aroma (not nail polish or acetone-like)
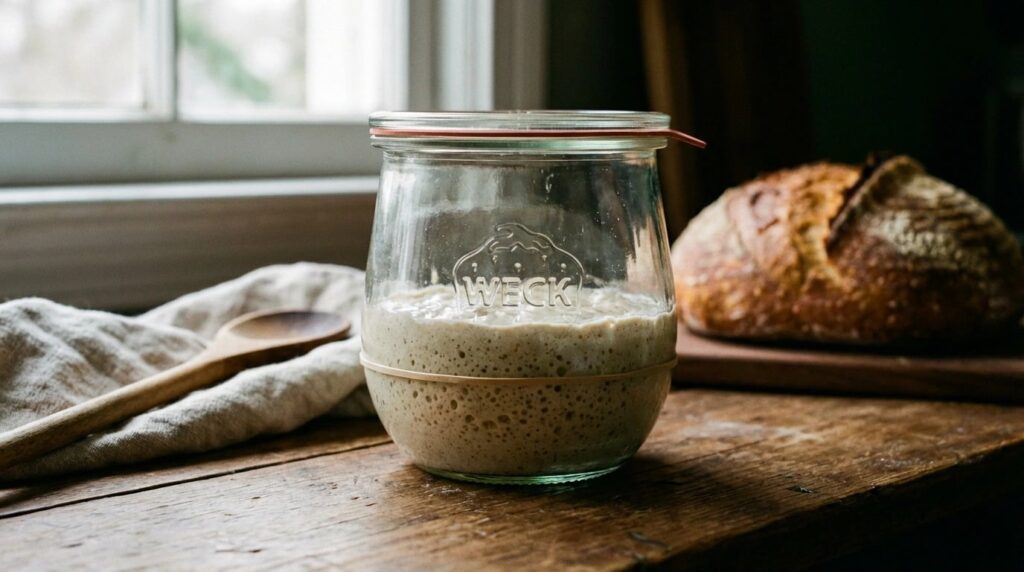
- Consistent rise and fall patterns after feeding (even if slow)
- Bubbles visible throughout the mixture, not just on top
- A slightly domed or risen surface within 4-8 hours of feeding at room temperature
- Liquid hooch forming on top between feedings
Moreover, even a starter that hasn’t risen as enthusiastically as you’d hoped might simply need more consistent feeding or warmer conditions. sluggish rise times often have simple solutions, and environmental factors play a larger role than many bakers realise.
Understanding Starter Age and Activity Levels
A starter’s behaviour changes as it matures. Young starters, especially those less than two weeks old, often show inconsistent rising patterns and weaker fermentation. This doesn’t mean they’re failing—they’re still developing their microbial community. Similarly, older starters sometimes appear less vigorous because they’ve reached stability. Consistent, moderate activity from an established starter is actually preferable to dramatic rises that collapse quickly.
Therefore, compare your starter’s behaviour to its own baseline rather than comparing it to others’ starters. Factors like room temperature, feeding ratio, and flour type all influence how your specific starter performs.
When Your Starter Truly Needs Help
Genuine starter problems are relatively rare, but they do happen. Recognising the actual red flags helps you take appropriate action. Unlike hooch or slow activity, certain signs indicate your starter has genuinely encountered trouble that requires intervention.
A truly compromised starter exhibits one or more of these characteristics:
- Persistent foul smells—acetone, nail polish, or putrid odours that don’t improve with feeding
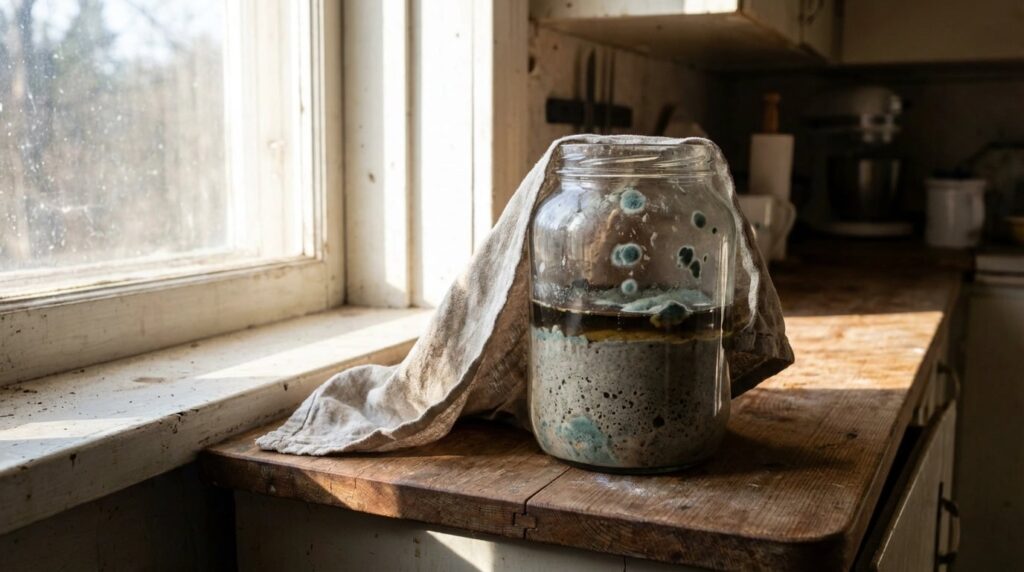
- Visible mould growth—fuzzy patches in white, green, or black (surface liquid isn’t mould)
- Pink or orange discolouration—indicating bacterial contamination, not yeast
- Complete absence of activity for 2+ weeks at room temperature with regular feeding
- Consistently foul smell after multiple feedings over several days
Importantly, surface liquid that looks separated or discoloured is not mould, and a sour smell—even an intensely sour one—is normal. The distinction matters because it determines whether your starter is salvageable.
Contamination versus Normal Neglect
Bacterial contamination is more serious than simple neglect. A starter left unfed for several months will smell absolutely dreadful, yet it’s usually recoverable. However, visible mould growth or persistent foul odours after multiple fresh feedings suggest contamination that may not be worth salvaging. In practice, most home bakers find it simpler to start fresh in these cases rather than spend weeks attempting revival.
The key distinction is whether feeding multiple times improves the starter’s condition. If the smell improves noticeably within 24-48 hours of feeding, you have a salvageable situation. If the unpleasant odour persists or worsens despite fresh feeding, contamination is likely present.
Step-by-Step Starter Revival Guide
If your starter shows signs of being dormant or neglected rather than genuinely contaminated, revival is straightforward. This process typically takes 3-7 days, depending on how long the starter was neglected and how cold it’s been stored.
Step 1: Assess and Clean Your Starter Container
Evaluate the current state
Open your starter container and observe carefully. Look for mould growth (fuzzy patches, clearly visible). Smell it—a sour smell is fine, but chemical or putrid odours are concerning. Check for discolouration or separation that looks abnormal. Based on what you find, decide whether to proceed or discard.
If proceeding, pour away the top third of your starter to remove any concentrated hooch or surface contamination. Use a clean (not necessarily sterile) jar for the revival process.
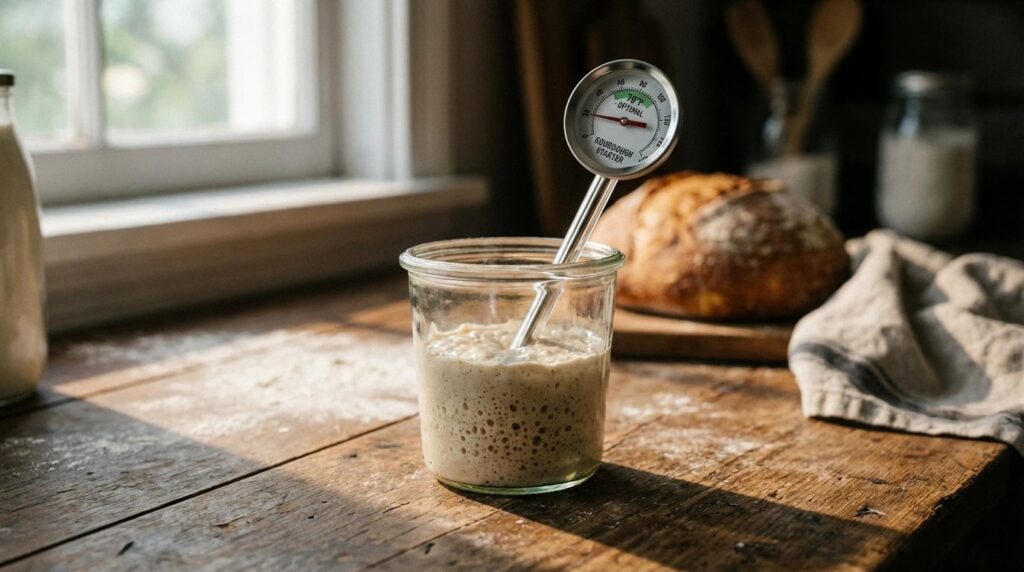
Step 2: Begin Regular Feeding at Room Temperature
Feed with consistent timing
Discard about half of your starter and feed it with equal weights of flour and water. For example, if you have 50g of starter, add 50g flour and 50g water. Use room temperature water and unbleached bread or all-purpose flour. Stir well to incorporate air.
A beginner’s guide to starter feeding ratios covers the reasoning behind these proportions in detail, but the essential point is consistency. Feed at the same time each day, ideally every 24 hours initially.
Step 3: Monitor for Signs of Life
Watch for activity over several days
After the first feeding, you may see no activity for 24-48 hours. This is normal for a dormant starter. By day two or three, you should notice the surface becoming bubbly or the mixture rising slightly. The smell should gradually improve from unpleasant to pleasantly sour.
Furthermore, observe the rise-and-fall pattern. Initially, your starter might rise only slightly and take longer to peak. As feeding continues, activity should increase noticeably. If no signs of life appear after 5-7 days of consistent daily feeding, the starter is unlikely to recover.
Step 4: Transition to Your Normal Routine
Resume your established feeding schedule
Once your starter shows reliable rising and falling (typically by day 5-7), return to your normal feeding rhythm. If you keep it refrigerated, resume refrigerator storage after one final room-temperature feeding cycle to confirm activity.
At this point, your starter should be ready for baking. Perform a simple float test (drop a small amount in water—it should float if ready) before using it in dough.
Preventing Starter Problems Long-Term
Rather than repeatedly reviving troubled starters, building proper storage and feeding habits prevents most problems entirely. Understanding the microbiology of your starter helps you appreciate why consistency matters. The wild yeast and lactic acid bacteria in your starter need regular feeding to maintain a stable, healthy community.
Refrigerator Storage Best Practices
Refrigerated starters require feeding roughly once weekly, depending on your fridge temperature. Many bakers overfeed refrigerated starters out of concern. This actually creates an imbalanced environment. Here’s the straightforward approach:
- Feed your starter at room temperature
- Allow it to rise and fall completely (6-8 hours)
- Transfer to the refrigerator once peaked or fallen
- Feed weekly by repeating the process
- Use for baking when it shows activity before feeding day
Consequently, you’ll maintain a stable, long-lived starter with minimal effort. The key is consistency—maintaining the same feeding schedule rather than sporadic top-ups.
Room Temperature Maintenance for Regular Bakers
If you bake frequently, keeping your starter at room temperature simplifies life. Daily or twice-daily feeding keeps it vigorous. The trade-off is slightly more frequent feedings and more flour consumption. However, a room-temperature starter requires no special considerations and shows obvious activity immediately before baking.
For either approach, maintain detailed notes about your feeding schedule and starter behaviour. Patterns become obvious when documented, helping you notice genuine problems early.
Final Thoughts on Starter Care
The most important insight about sourdough starter health is this: most apparent failures are actually just neglect, and neglected starters are remarkably forgiving. A starter that’s been ignored for months, kept in a cold corner of your kitchen, or developed a layer of hooch is almost certainly recoverable. True failure—genuine contamination that prevents revival—is comparatively rare.
Your starter is a living culture of wild yeast and bacteria that wants to thrive. Provide it with regular feeding, reasonable temperature conditions, and clean equipment, and it will persist for decades. Most problems trace back to feeding inconsistency or unrealistic expectations about what active fermentation looks like. Therefore, when you next worry about your starter, check the straightforward indicators: Does it smell sour but not foul? Do you see bubbles? Has it been properly fed? If the answer to these questions is yes, your starter is almost certainly fine.
The philosophy at Crumb Culture centres on stress-free sourdough making, and that applies directly to starter care. A simple, consistent routine eliminates most concerns. Get in touch if you have questions about your specific starter situation, but in most cases, patience and regular feeding solve the problem.
Understanding whether sourdough starter can go bad comes down to recognising the difference between natural dormancy and genuine contamination. With this guide, you’ll confidently assess your starter’s health and take appropriate action—whether that’s simply returning to normal feeding or undertaking a proper revival. Either way, your sourdough journey continues undisrupted.