Nothing is more frustrating than spending hours nurturing your sourdough starter and preparing your dough, only to find it hasn’t risen properly. Whether your loaf emerges flat, dense, or disappointingly small, failed fermentation can feel like a personal failure. The good news is that most rising problems have straightforward fixes, and once you understand what went wrong, you can prevent it from happening again.
Flat or dense sourdough typically stems from one of three culprits: inadequate fermentation time, insufficient starter activity, or environmental factors like temperature. The solution depends on which factor is limiting your dough’s rise. By diagnosing the root cause, you can adjust your process and achieve the airy, open crumb structure that makes artisan bread so rewarding. Let’s explore the most common issues and how to resolve them.
Check Your Starter’s Strength and Activity
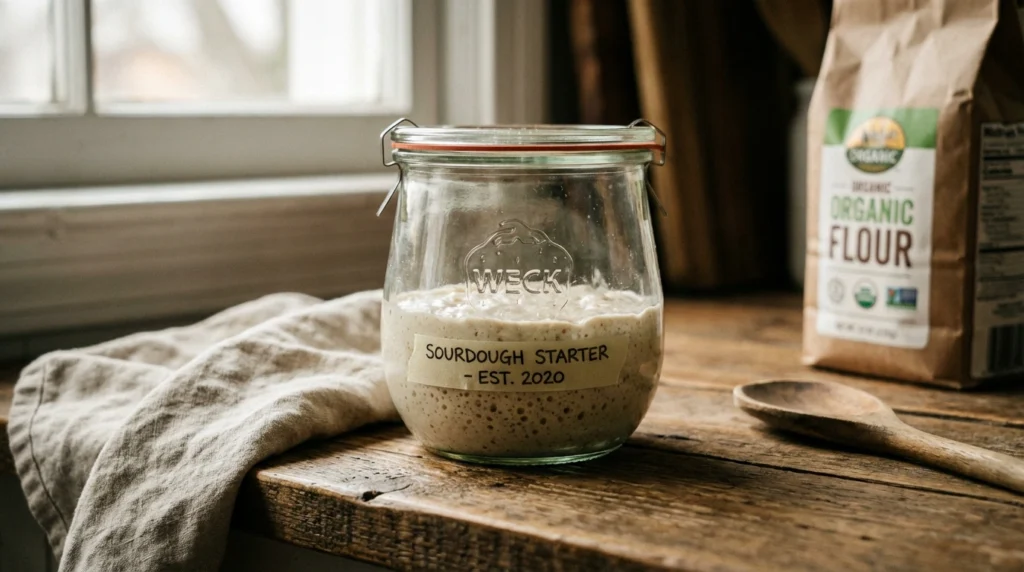
A weak or sluggish starter is often the hidden reason behind flat sourdough. Your starter needs sufficient strength to leaven your dough effectively. If it’s not doubling in size within 4–8 hours of feeding, it won’t generate enough gas to create proper rise. A common mistake is using a starter that’s been neglected or stored cold for weeks without regular feeding.
Signs Your Starter Needs Attention
A healthy starter should:
- Double in size within 4–6 hours of feeding at room temperature (around 20–24°C)
- Show visible bubbles throughout and on the surface
- Smell pleasantly sour and yeasty, not acetone-like or off-putting
- Pass the float test (a spoonful floats in water rather than sinks)
If your starter fails these checks, it requires revitalisation before you bake. follow our sourdough starter guide to understand proper feeding schedules and maintenance. Feed it daily at room temperature for 5–7 days until it consistently shows strength and predictable rise patterns.
Timing Your Dough Mix
Additionally, use your starter at peak activity—the moment it has fully doubled and shows a slight dome before collapsing. Using it earlier means fewer living cells in your dough; using it later means the yeast has exhausted its food supply. In practice, this means mixing your dough roughly 4 hours after feeding your starter in warm conditions.
Extend Your Bulk Fermentation Time
One of the simplest fixes for flat, dense sourdough is increasing bulk fermentation duration. Many home bakers underestimate how long the dough actually needs to develop gluten structure and generate sufficient gas. A typical bulk fermentation lasts 4–6 hours at room temperature, but this varies significantly based on your kitchen’s conditions and starter strength.
Understanding Bulk Fermentation Stages
Bulk fermentation progresses through three key phases. During the first phase (roughly 0–2 hours), gluten development accelerates and structure forms. The middle phase (2–4 hours) is when visible rise becomes apparent and gas pockets develop. The final phase (4–6 hours) reaches optimal flavour development and sufficient rise for shaping.
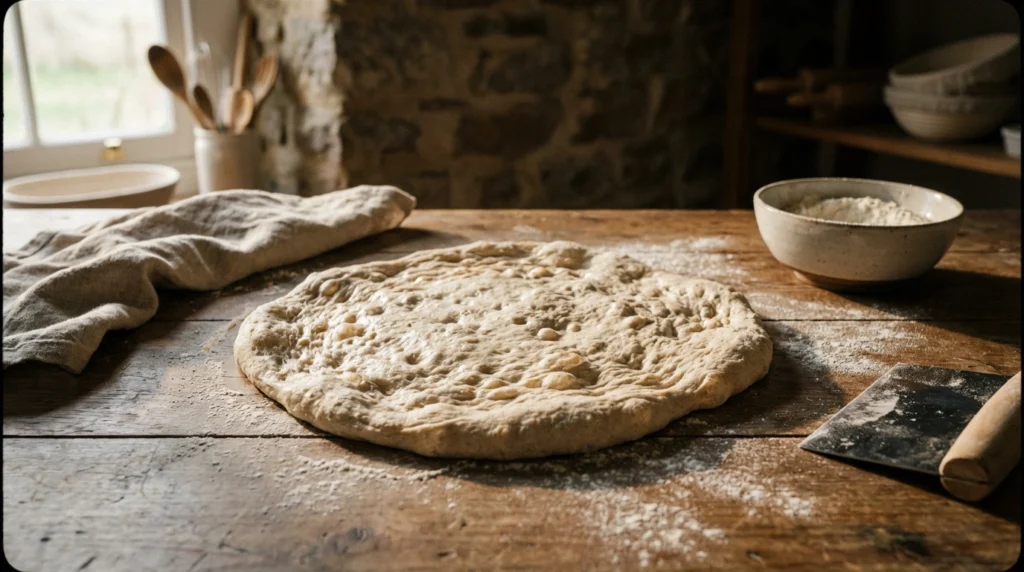
Look for the dough to increase in volume by 30–50% rather than relying on strict timing. You’ll notice the surface becomes slightly domed, bubbles appear throughout, and the dough feels lighter and airier. If yours isn’t showing these signs after 4 hours, extend by another hour or two. Temperature plays a major role here—colder kitchens need longer fermentation, whilst warmer ones may be faster.
The Poke Test Method
A reliable way to judge readiness is the poke test. Gently press your finger into the dough about 1 centimetre deep. If the indentation springs back completely and quickly, fermentation has further to go. If it springs back very slowly or leaves a slight impression, your bulk fermentation is complete. This tactile assessment works better than timing alone because it accounts for your specific environment.
Monitor and Control Temperature
Temperature is perhaps the single most critical variable in sourdough fermentation. Yeast activity accelerates dramatically with warmth and slows considerably in cool conditions. A 5°C difference between two kitchens can mean the difference between 4 hours and 8 hours of bulk fermentation. Therefore, understanding and controlling your dough’s temperature is essential for consistent results.
Ideal Temperature Range
Sourdough ferments best between 22–26°C. Below 20°C, fermentation slows noticeably and rises become sluggish. Above 28°C, fermentation accelerates and you risk overproofing before you’ve finished shaping. Most home kitchens fall somewhere in the middle, which is why adjusting fermentation time to match your conditions is crucial.
To gauge dough temperature accurately, use an instant-read thermometer. Measure the centre of your bulk fermentation container. If it’s reading 18°C, extend your bulk fermentation by 2–3 hours compared to your recipe’s baseline. If it’s 24°C or warmer, monitor more closely and check readiness every 30 minutes to avoid overproofing.
Strategies for Warmer and Cooler Environments
For cooler kitchens, try fermenting near a heating vent, inside an insulated cooler with warm water bottles, or in your oven with the light on. For overly warm spaces, ferment in your coolest location—a pantry or basement—or briefly refrigerate your dough between stages. Some bakers incorporate a long, cool overnight fermentation in the fridge, which both slows fermentation and deepens flavour through extended hydrolysis. Understanding fermentation chemistry (Wikipedia) reveals why cold fermentation also improves flavour development and crust quality.
Improve Your Shaping and Tension
How you shape your dough directly influences how it rises in the oven. Proper shaping creates surface tension that directs upward growth rather than sideways spread. A poorly shaped boule or batard will expand horizontally and appear flat in the final loaf, even if fermentation was adequate. Tension is what prevents your dough from spreading thin instead of rising tall.
Shaping Technique Essentials
When shaping, your goal is to create a taut outer surface without degassing the interior. Start with your dough seam-side up on a lightly floured work surface. Fold the upper third down and press gently to seal. Fold the left third over the centre, seal lightly, then the right third. Finally, roll the dough away from you, creating tension with each rotation. The seam should be tight enough that you’re building surface structure, but not so aggressive that you’re pressing out all the gas bubbles.
A common error is over-handling during shaping, which pushes out the gas and leaves the dough deflated. Conversely, under-tensioning results in a dough that spreads sideways rather than upward. The result is a flat loaf with dense crumb. Practise shaping until you can do it smoothly in 30–45 seconds with controlled, deliberate movements.
Assess Your Final Proof
After shaping, your dough enters final proof—the last rise before scoring and baking. This stage typically lasts 2–4 hours at room temperature or 8–16 hours in the fridge. The final proof must be neither too short nor too long. Underproofing means insufficient rise in the oven; overproofing causes the dough to spread sideways and rise weakly with dense crumb.
Recognising the Correct End Point
Assess your final proof using the same poke test. The shaped dough should feel pillowy and light. Press gently with your finger; it should spring back slowly, leaving a slight impression that doesn’t fully disappear. If it springs back instantly, it needs more time. If the indentation doesn’t spring back at all, you’ve likely overproofed.
Additionally, examine visual cues. The dough surface should look slightly domed with some visible tension, not completely flat or collapsed. If it looks like a deflated balloon, you’ve gone too far. Cold fermentation in the fridge slows this stage considerably, which can actually be beneficial. Learn more about our approach to artisan baking and how we balance traditional methods with practical guidance.
Common Mistakes That Lead to Poor Rise
Beyond the primary factors above, several subtle errors can sabotage your loaf. Understanding these mistakes helps you troubleshoot efficiently and avoid repeating them. Many experienced bakers have encountered these issues and learned hard lessons that you can skip.
Hydration That’s Too High
Dough that’s too wet becomes difficult to shape and lacks sufficient gluten development to support proper rise. Excess water weakens the dough structure, making it spread rather than rise. If your dough is sticky and doesn’t hold its shape well after shaping, reduce hydration by 1–2% in your next bake and monitor the difference.
Insufficient Salt
Salt strengthens gluten and slows fermentation slightly, giving you better control. Dough made with too little salt ferments too quickly and lacks structure. Aim for roughly 2% salt by flour weight. Too little and your dough becomes slack; too much and fermentation stalls.
Not Enough Autolyse
Skipping or rushing your autolyse (the 30–60 minute rest between mixing flour and water before adding salt and starter) leaves gluten underdeveloped. A proper autolyse allows flour to fully hydrate and gluten networks to begin forming naturally. This reduces the work needed during bulk fermentation and allows more time for gas production and flavour development rather than pure structure building.
Overactive or Sluggish Starter
Using starter at the wrong stage of its cycle creates problems. Peak activity gives you reliable, predictable fermentation. If your starter is already collapsing or hasn’t peaked yet, your dough won’t rise properly. Develop a consistent feeding schedule and learn your starter’s unique rhythm in your kitchen.
The path to consistently risen, open-crumb sourdough requires patience and attention to detail. However, once you’ve diagnosed which factors are limiting your results, improvements come quickly. Start by evaluating your starter’s strength, then extend bulk fermentation, monitor temperature carefully, and refine your shaping technique. Most bakers find that addressing just one or two of these factors significantly improves their bread. Track what you adjust in each bake so you can identify patterns and build your personal sourdough knowledge. Each loaf teaches you something about how your flour, starter, and kitchen environment interact—and that knowledge compounds with every bake.