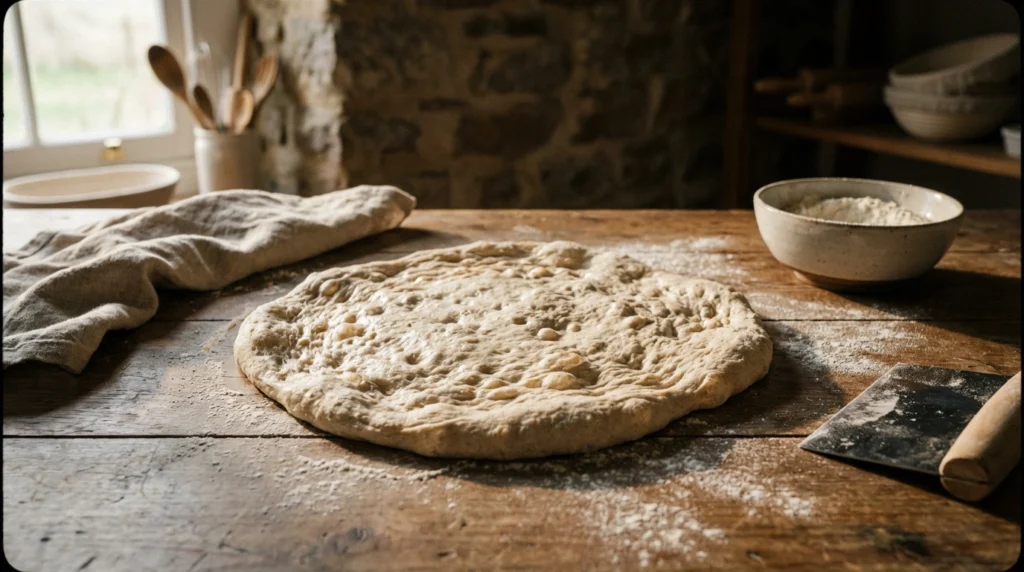
Creating a sourdough starter at home is one of the most rewarding projects for bread enthusiasts, yet many beginners find themselves overwhelmed by conflicting advice and seemingly complex timelines. The reality is far simpler than popular culture suggests. With just two basic ingredients—flour and water—you can cultivate a living culture of wild yeast and bacteria that will transform your baking for years to come. Your starter will communicate its readiness through consistent visual and olfactory cues, removing much of the guesswork that intimidates newcomers.
The fundamental principle behind sourdough fermentation is leveraging naturally occurring microorganisms already present in flour and your environment. These microbes—primarily Saccharomyces cerevisiae yeast and Lactobacillus bacteria—establish themselves in your mixture over seven to ten days, producing carbon dioxide for leavening and organic acids for flavour development. Beginning bakers often worry about contamination, but in practice, the acidic environment you’re creating actively prevents harmful pathogens from thriving. Your starter is far more resilient than you might initially believe.
What You’ll Need to Get Started
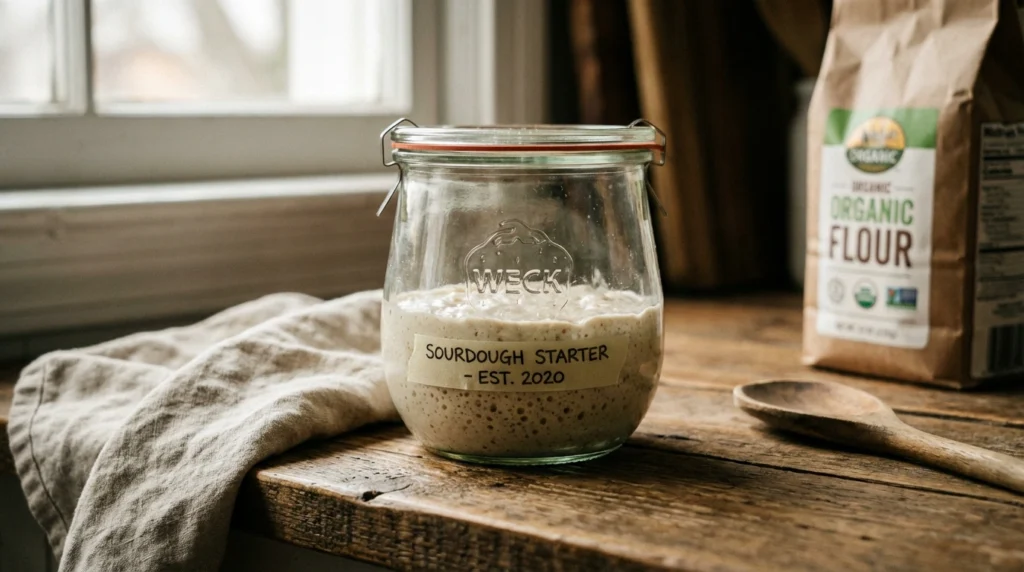
Before mixing your first batch, gather the minimal equipment required for success. You’ll need a clean glass jar or container—ideally one litre or larger—that allows you to observe the activity within. Many bakers prefer straight-sided jars for accurate visual assessment of rise and fall patterns. Additionally, obtain a kitchen scale for precise measurements, a spoon for mixing, and unbleached bread flour or all-purpose flour. Bread flour, with higher protein content, can create a slightly more robust fermentation, though all-purpose flour works equally well for beginners.
Water quality deserves consideration, though not obsession. If your tap water is heavily chlorinated, allow it to sit overnight or use filtered water, as chlorine can inhibit fermentation. Many bakers successfully use tap water directly without difficulty. Temperature control becomes increasingly relevant as your starter matures. Room temperature between 18–24°C represents the ideal range; cooler environments slow fermentation significantly, whilst warmer conditions accelerate activity. If your kitchen tends toward the cold side, positioning your jar near a warm spot—but not directly on a heat source—helps maintain consistent progress.
Optional Equipment for Enhanced Monitoring
A simple kitchen thermometer helps you track ambient temperature, which correlates directly with fermentation speed. Clear markings on your jar (or using a permanent marker to indicate the starting level) make it easier to visualise when your culture has doubled or tripled in volume. Some bakers find a cloth or coffee filter helpful for covering their jar, as it prevents dust contamination whilst allowing airflow that fermentation requires.
Creating Your Sourdough Starter: Step-by-Step
The process of establishing a healthy starter unfolds across roughly ten days. Timelines vary based on temperature, flour type, and your local microbial environment. A starter created during summer may mature faster than one begun in winter. This variation is entirely normal and does not indicate failure.
Day One: Your Initial Mix
Begin by combining 50 grams of flour and 50 grams of water in your clean jar. Stir thoroughly until no dry flour remains, creating a thick paste-like consistency. This 1:1 ratio by weight (equal parts flour and water) provides the foundation for balanced fermentation. The mixture may appear unpromising at this stage—merely a thick slurry with no visible activity. Cover your jar loosely with a cloth or place a loose-fitting lid on top (do not seal it tightly, as gases need to escape). Position the jar at room temperature away from direct sunlight. Morning or evening timing doesn’t matter; consistency matters more than clock precision.
During these first twenty-four hours, the flour absorbs water and begins hydrating. The environment shifts towards acidity as initial bacterial activity commences. You may notice no visible bubbling at this stage. This absence of immediate activity is completely expected.
Days Two Through Four: The First Feeding Schedule
On day two, discard half of your mixture (approximately 50 grams) and add 50 grams of fresh flour and 50 grams of water. Stir well, maintaining the 1:1 ratio. Repeat this feeding process each day for days three and four, always discarding half before adding fresh ingredients. This daily feeding accomplishes several critical tasks: it removes accumulated acids that, in excess, inhibit fermentation; it provides fresh nutrients (sugars and proteins) from new flour; and it increases the population of beneficial microorganisms. During this phase, bubbles may appear, disappear, or show inconsistent patterns. Some days your starter might look more active than others. This variability reflects the complex microbial community establishing equilibrium.
Understanding Activity Patterns in Early Days
Around day three or four, many starters begin producing a distinctive, pungent smell—reminiscent of acetone or nail polish remover. This aroma, caused by acetic acid production, signals that your culture is maturing correctly. The smell evolves as fermentation progresses, eventually developing complex, slightly yoghurt-like or beery notes. Simultaneously, you may observe a greyish liquid (hooch) settling atop your mixture. This is simply concentrated alcohol and acids produced during fermentation; it indicates your starter is hungry and ready for its next feeding.
Days Five Through Seven: Increasing Feeding Frequency
From day five onwards, increase feeding frequency to twice daily if possible (morning and evening, roughly twelve hours apart). Continue the same 1:1:1 ratio—discard half your mixture, then add 50 grams flour and 50 grams water. This doubled feeding frequency accelerates maturation significantly. Your starter should now exhibit visible bubbling within four to eight hours of feeding. Observe whether it rises noticeably (doubling in volume) before the next scheduled feeding. If bubbling exists but no substantial rise occurs, continue daily feeding; the culture is progressing, just more slowly than ideal.
Observe the aroma and appearance more carefully now. A pleasant, mildly tangy smell (rather than the harsh acetone scent of earlier days) indicates your culture is maturing. The mixture should develop a cohesive texture with visible bubbles distributed throughout, rather than an obviously layered appearance. Sourdough fermentation (Wikipedia) provides detailed information about the microbiology behind these observable changes if you wish to explore the science more deeply.
Days Eight Through Ten: Readiness Assessment
By day eight or nine, your starter should reliably double in volume within four to eight hours of feeding. Test readiness by observing whether your starter rises predictably on a twice-daily feeding schedule. A reliable sign of maturity is passing the “float test”: take a small spoonful of your starter and drop it into a glass of water. If it floats rather than immediately sinking, sufficient gas production is occurring, and your starter is ready for baking. Your culture should smell pleasantly sour and yeasty, not unpleasantly harsh. If your starter has not yet reached this stage by day ten, continue twice-daily feeding; some cultures simply require longer development, particularly in cooler environments. Patience ensures success rather than premature baking attempts with an immature culture.
Maintaining Your Starter Long-Term
Once your starter reaches maturity, maintenance becomes significantly less demanding than the creation phase. The key to long-term viability is establishing a consistent feeding routine that prevents your culture from becoming excessively acidic or starved of nutrients. Most bakers find one of two schedules works well: daily feeding if your starter remains on the counter at room temperature, or weekly feeding if you store it in the refrigerator.
Room Temperature Storage and Daily Feeding
If you plan to bake regularly (multiple times weekly), maintaining your starter at room temperature with daily feeding suits your workflow. Each morning or evening, discard approximately half your starter and feed with equal weights of flour and water—for example, 100 grams starter, 100 grams flour, and 100 grams water. Within four to twelve hours, your starter should roughly double in volume, indicating readiness for baking or the next feeding. This schedule keeps your culture perpetually active and vigorous. The downside is that counter-sitting jars demand consistent attention; missing a single feeding often produces an unpleasant smell but rarely ruins your culture entirely.
Refrigerated Storage for Occasional Bakers
If baking happens less frequently, refrigeration extends the interval between feedings to roughly once weekly. To transition your mature starter to refrigerator storage, perform one final room-temperature feeding, allow it to become active (rising noticeably), then cover it and move it to a shelf (not the freezer). The cold dramatically slows fermentation, allowing your starter to survive longer between feedings. Before baking, remove your starter from the refrigerator and perform two to three successive room-temperature feedings over one to two days, reactivating the culture before use. This approach minimises daily maintenance whilst preserving your culture indefinitely.
Signs Your Starter Needs Attention
A mature, healthy starter displays certain consistent characteristics. It should smell pleasantly sour—similar to sourdough bread itself—rather than offensive or chemically harsh. The texture should appear bubbly and active within hours of feeding. If your starter develops a fuzzy mould (rare but possible), discard it entirely and begin anew; mould contamination indicates environmental conditions somehow favoured unwanted organisms. A slightly darker liquid layer (hooch) simply means your culture is hungry; stir it back in or discard it before feeding—both approaches work fine. A greyish or brownish crust on the surface poses no concern; simply stir it back into your mixture.
Troubleshooting Common Issues
Even with careful attention, beginner bakers encounter occasional setbacks. Understanding what these setbacks indicate prevents unnecessary alarm and keeps your starter on track toward baking success. Most problems stem from either insufficient feeding frequency, inappropriate temperature, or unrealistic timeline expectations.
Slow or Absent Activity
If your starter shows minimal bubbling after five or six days, temperature likely deserves first investigation. Fermentation slows dramatically below 18°C; if your kitchen runs cold, moving your jar to a warmer spot (near a radiator, above the refrigerator, or in an airing cupboard) can double fermentation speed. Additionally, increase feeding frequency to twice daily if you haven’t already; more frequent feeding provides constant fresh nutrients. Finally, allow additional time. Some starters genuinely require twelve to fourteen days before showing robust activity. This doesn’t indicate failure—merely slower microbial colonisation.
Unpleasant Odours Beyond Normal Sourness
The smell journey during starter creation progresses through phases. Early acetone-like aromas transform into pleasant tanginess by day five or six. However, if your starter at day seven or eight smells genuinely unpleasant—rotten, putrid, or chemically offensive—increase feeding frequency. Often, simply feeding twice daily for an additional three to four days corrects the smell issue. If the odour persists and you observe pink or orange discoloration (indicating bacterial contamination), discard the batch and restart with fresh ingredients and a clean jar.
Excessive Liquid (Hooch) Layer
The greyish or dark liquid atop your starter indicates the culture is hungry between feedings. You can either stir this back in, or discard it before feeding—both methods work equally well. If excessive hooch appears regularly, your feeding intervals need adjustment. Move toward twice-daily feeding, or if already feeding twice daily, increase the flour-and-water quantities you add at each feeding (for example, 75 grams flour and 75 grams water instead of 50 grams each).
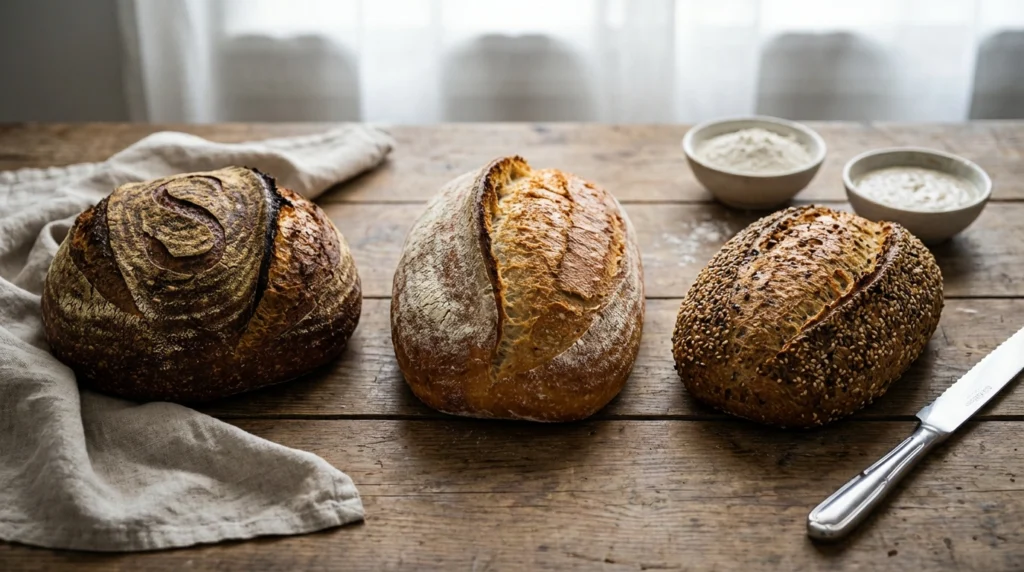
Moving From Starter to Baking
Successfully cultivating a mature starter represents a significant achievement—yet the ultimate goal is baking delicious sourdough bread with it. Before attempting your first loaf, understanding when your starter is genuinely ready prevents disappointing results.
Readiness Requirements Before First Bake
Your starter should pass three critical readiness criteria. First, it must reliably double (or more) in volume within four to eight hours of feeding at room temperature. This doubling indicates sufficient yeast population for bread leavening. Second, the aroma should smell pleasantly sour and yeasty, not harsh or off-putting. Third, the float test should consistently yield positive results: a spoonful dropped into water floats rather than sinking. Your starter should display visible bubbles throughout—not just on the surface—suggesting robust fermentation throughout the mixture. If all three criteria exist, baking can commence.
Initial Baking Ratios
Most basic sourdough recipes call for 20 to 30 percent starter (by flour weight). If your recipe uses 500 grams flour, incorporate 100 to 150 grams active starter (fed roughly four to eight hours prior, when it’s at peak volume). This ratio provides sufficient leavening power whilst keeping fermentation manageable for beginners. As you gain experience, adjusting these ratios fine-tunes flavour intensity and fermentation timeline—but initial recipes should specify starter percentage explicitly, removing guesswork.
Before committing to a full loaf, consider a trial batch using sourdough pancakes or biscuits, which require less starter commitment and forgive minor timing variations. This approach builds confidence whilst consuming any experimental batches deliciously. Ready to bake your first loaf? Contact our team if you have questions about your specific starter or baking plans.
Long-Term Starter Care
Your starter becomes more flavourful and reliable over months and years. A six-month-old culture ferments faster and produces subtly different flavours than a one-week-old starter. This evolution is entirely natural and reflects the stabilisation of your specific microbial community. Some bakers maintain starters for decades, passing them between friends or across generations. This longevity underscores how remarkably resilient these cultures prove in practice. Even extended neglect rarely kills a healthy starter—simply resuming regular feeding resurrects a dormant (but living) culture within days.